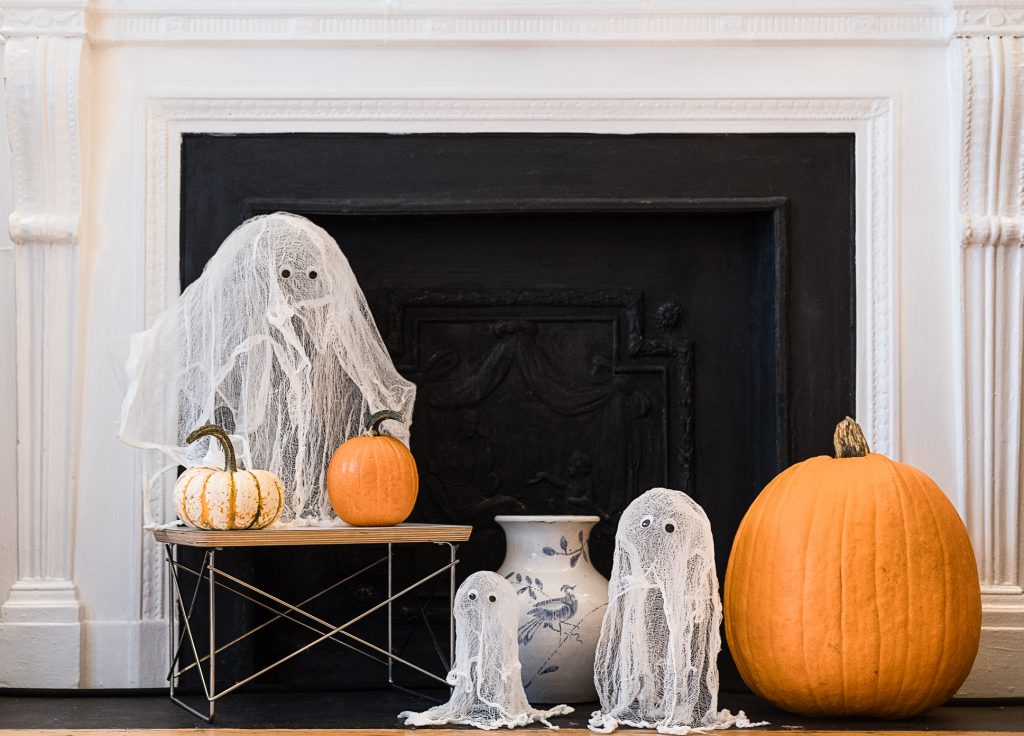
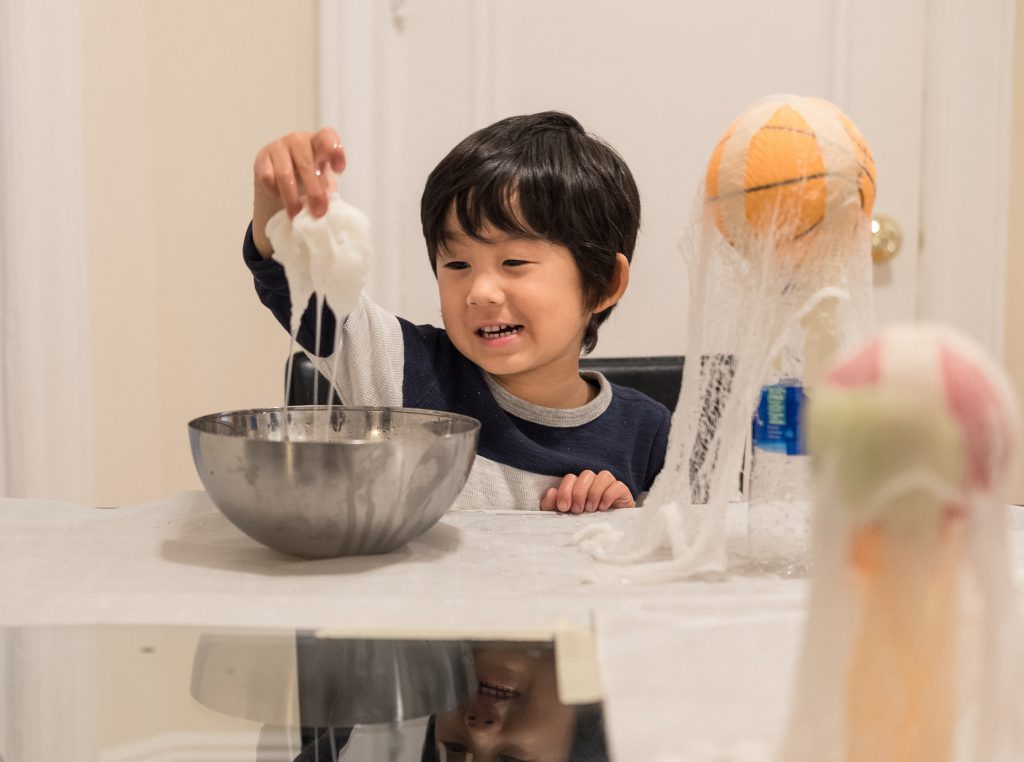
With Halloween fast approaching, we are creepin’ it real with some super easy and fun kids’ crafts! As a kid, I used to make these spooktacular cheesecloth ghosts with my mom, so I thought I’d try it with Bash this year as a special after school activity. While they are super easy to make, it takes about 24 – 48 hours to dry, so factor that into your timeframe. Bash had a great time dunking the cheesecloth and watching it drip over and over again. I have to say, I think they turned out Boo-tiful!
Supplies
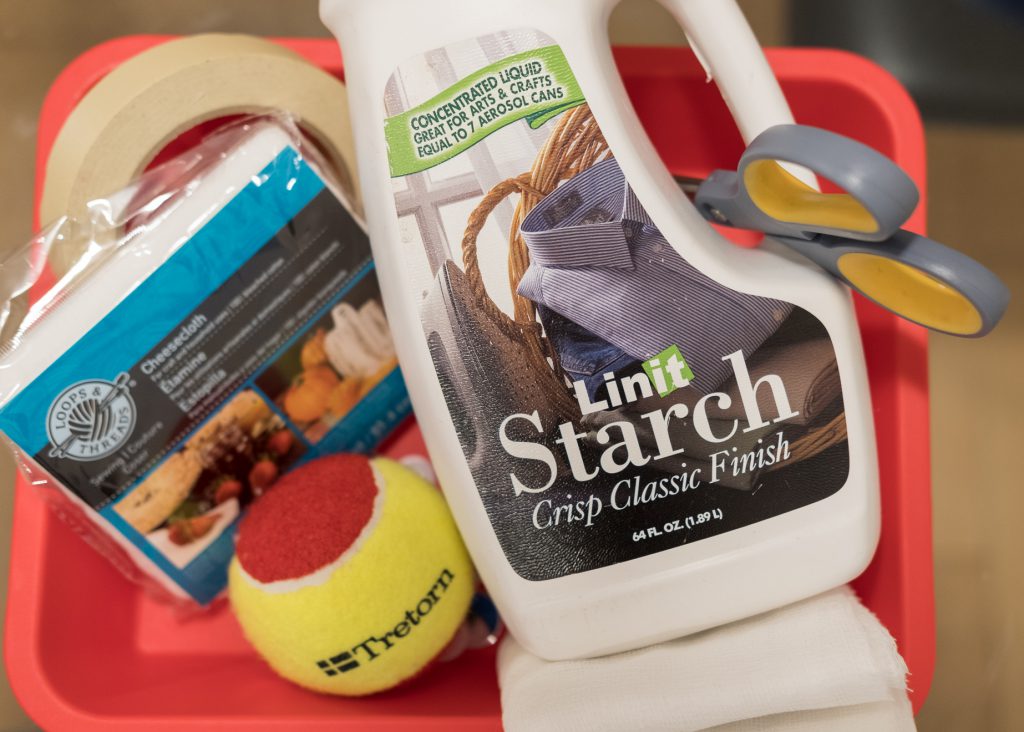
- Cheesecloth
- Liquid starch / fabric stiffener
- Water
- Medium sized mixing bowl to hold the liquid starch / water mixture
- Googley eyes / black felt
- Balloons / balls (assorted sizes)
- Water bottle / pillars (assorted sizes)
- Wire hanger (if you want your ghosts to have “arms”)
- Measuring cup
- Glue gun / glue
- Tape
- Scissors
- Parchment paper / butcher paper: something to cover your work surface
- Baking tray: this might be helpful if you need to move the ghosts to another location to dry
Preparation and Set-Up
Workspace: Prep your work surface and drying area by laying down some parchment paper or butcher paper. If you plan to move your ghosts someplace else to dry, use a lined baking tray for easy transport.
Fluid: Mix the liquid starch together with water at a ratio of ~75% starch, 25% water; a little more starch for humid environments. I started with 1.5 cups liquid starch (added an extra splash) and 1/2 cup water and that lasted enough to make our 3 ghosts.
Molds: Setup your ghost molds by stacking the round balls on top of their stands. I added tape for extra stability, making it easier to drape the cheesecloth over the molds without accidents! We made molds in three sizes:
(1) Small: tennis ball on top of a bubble bottle – note that the tennis ball was slightly harder to peel off the cheesecloth
(2) Medium: mini basketball on top of a water bottle
(3) Large: balloon on top of a single malt scotch canister (I mean, whatever works, right! :)) For this ghost, we also added “arms” by wrapping a wire coat hanger around the neck (right below where the balloon attached to the canister).
Cheesecloth: Cut cheesecloth with enough fabric to drape and pool at the bottom, as this is how the ghosts will stand up once dry. For our ghosts, we used 2 layers of cheesecloth, but you can always add more to make them more opaque. Don’t worry about exact dimensions. If the cloth is a little too short and doesn’t stand on its own, you can always hang it.
Cheesecloth Ghosts Instructions
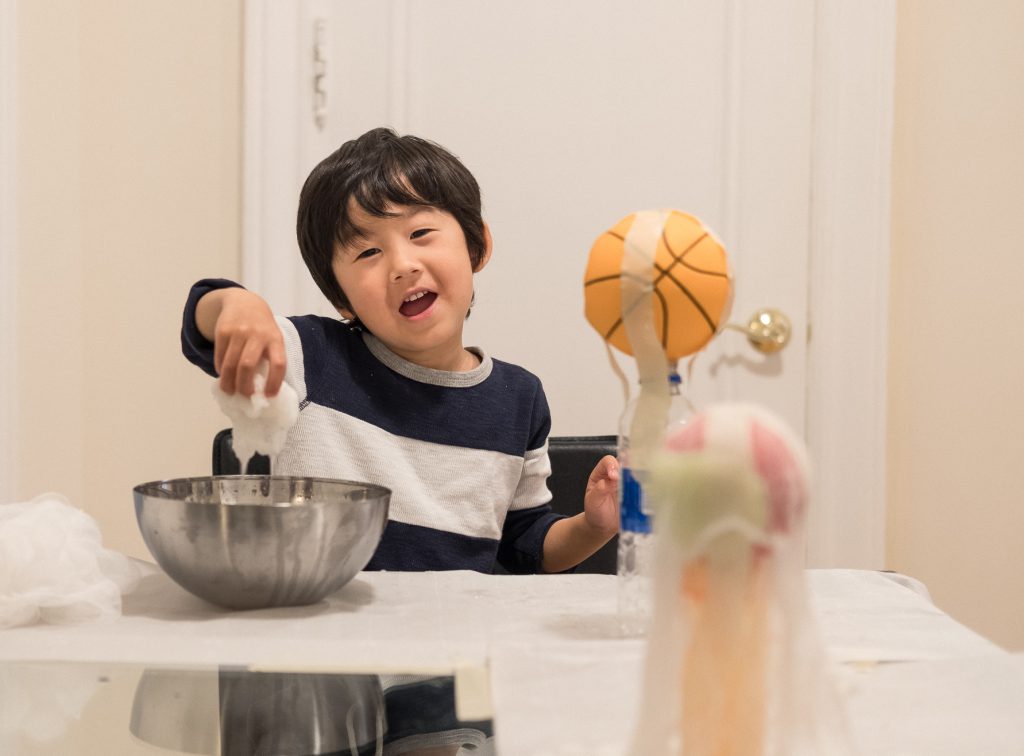
Start by dipping the first layer of cheesecloth in the liquid starch-water mix. Make sure the cheesecloth is fully soaked. Let the excess drip off a bit, but no need to wring dry. Having another set of hands really helps while unwrapping the wet cheesecloth. Place the first layer over your ball and stand mold, making sure there is some fabric pooling at the bottom as this will keep the ghost “standing” once dry. Repeat for subsequent layers.
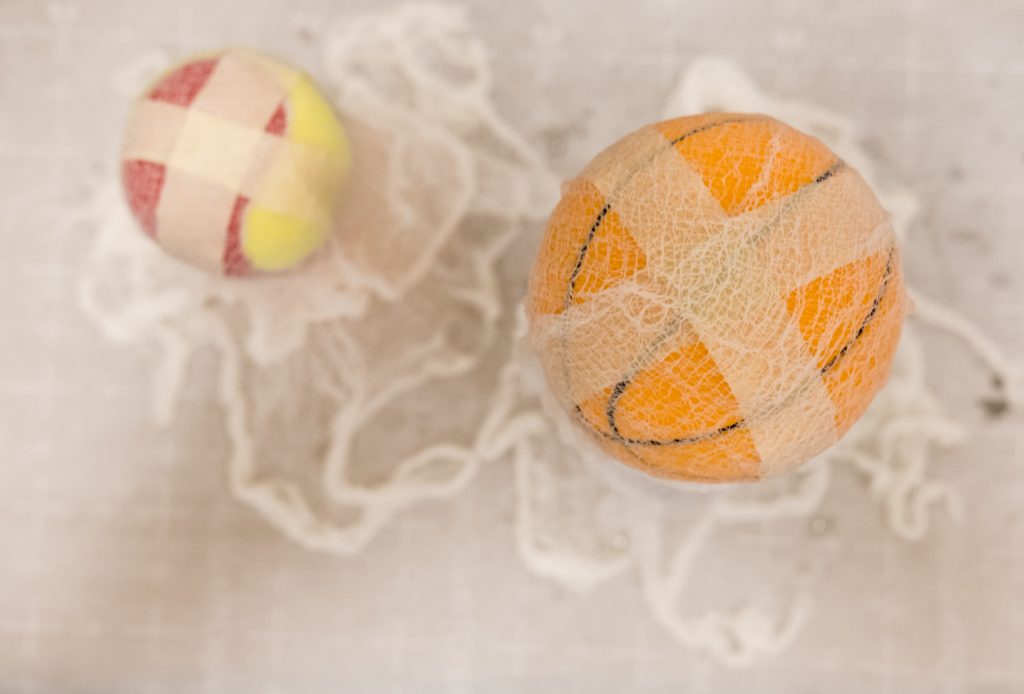
Allow the ghosts to dry on their mold for at least 24 hours. Adding layers may increase drying time. I let ours sit for about 48 hours before removing the mold. Once dry, remove the mold by carefully peeling the cheesecloth. If desired, add your googley eyes or black felt eyes / mouth with a glue gun or fabric glue. I used a glue gun and found that having a second googley eye as a backing helped make them stick better.
Eh, voila! A team of cheesecloth ghosts to get the Halloween party startled. #squadGhouls. Happy Halloween!

Share Your Comments: