After much deliberation, we’ve finally decided what Bash is going to be for Halloween! Over the past couple of weeks, we’ve been at an impasse. After nixing our Game of Thrones Tyrion idea (this mother of dragons just didn’t want to deal with 3 costumes), we were stuck with Toy Story’s Woody or a cowboy. When suddenly, a song came on and Bash just started shaking his hips, literally, just like the King of Rock and Roll. It reminded us of an episode of How I Met Your Mother with “Korean Elvis”. Then it hit us: with so many different looks to choose from, Bash would be Elvis! So once again, with only a week left, we decided to challenge ourselves and chose the look that required white pants (see our previous Halloween post). While we’ve seen a few toddler sized Elvis costumes, most had poor reviews and since Bash is on the smaller size, we figured it might be simple enough to make ourselves. Plus, I’ve always wanted to bedazzle something!
Tools:
- Sewing machine OR fabric glue OR husband that knows how to sew
- Scissors
- Iron
- Ruler
- Glue gun
- Seam ripper (thin scissors would also work)
- Measuring tape
“All Shook Up” – The Jumpsuit Basics:
The only thing harder than finding boys’ white pants is a white jumpsuit / onesie! Since I’m no Martha Stewart (my idea of sewing is safety pinning a broken button and sending it to the dry cleaners), we opted to buy a western style white button-down shirt and white pants (apparently toddler-sized white pants are much easier to find than baby-sized, phewf; who knew?). We also bought 1 yard each of white stretch sateen fabric (make sure it’s not too translucent) and a silky red fabric (we used a polyester) to create the accessories (cape, scarf, and kick flares). A yard was probably too much, but I wanted extra in case I needed a do-over and I had a coupon 🙂 .
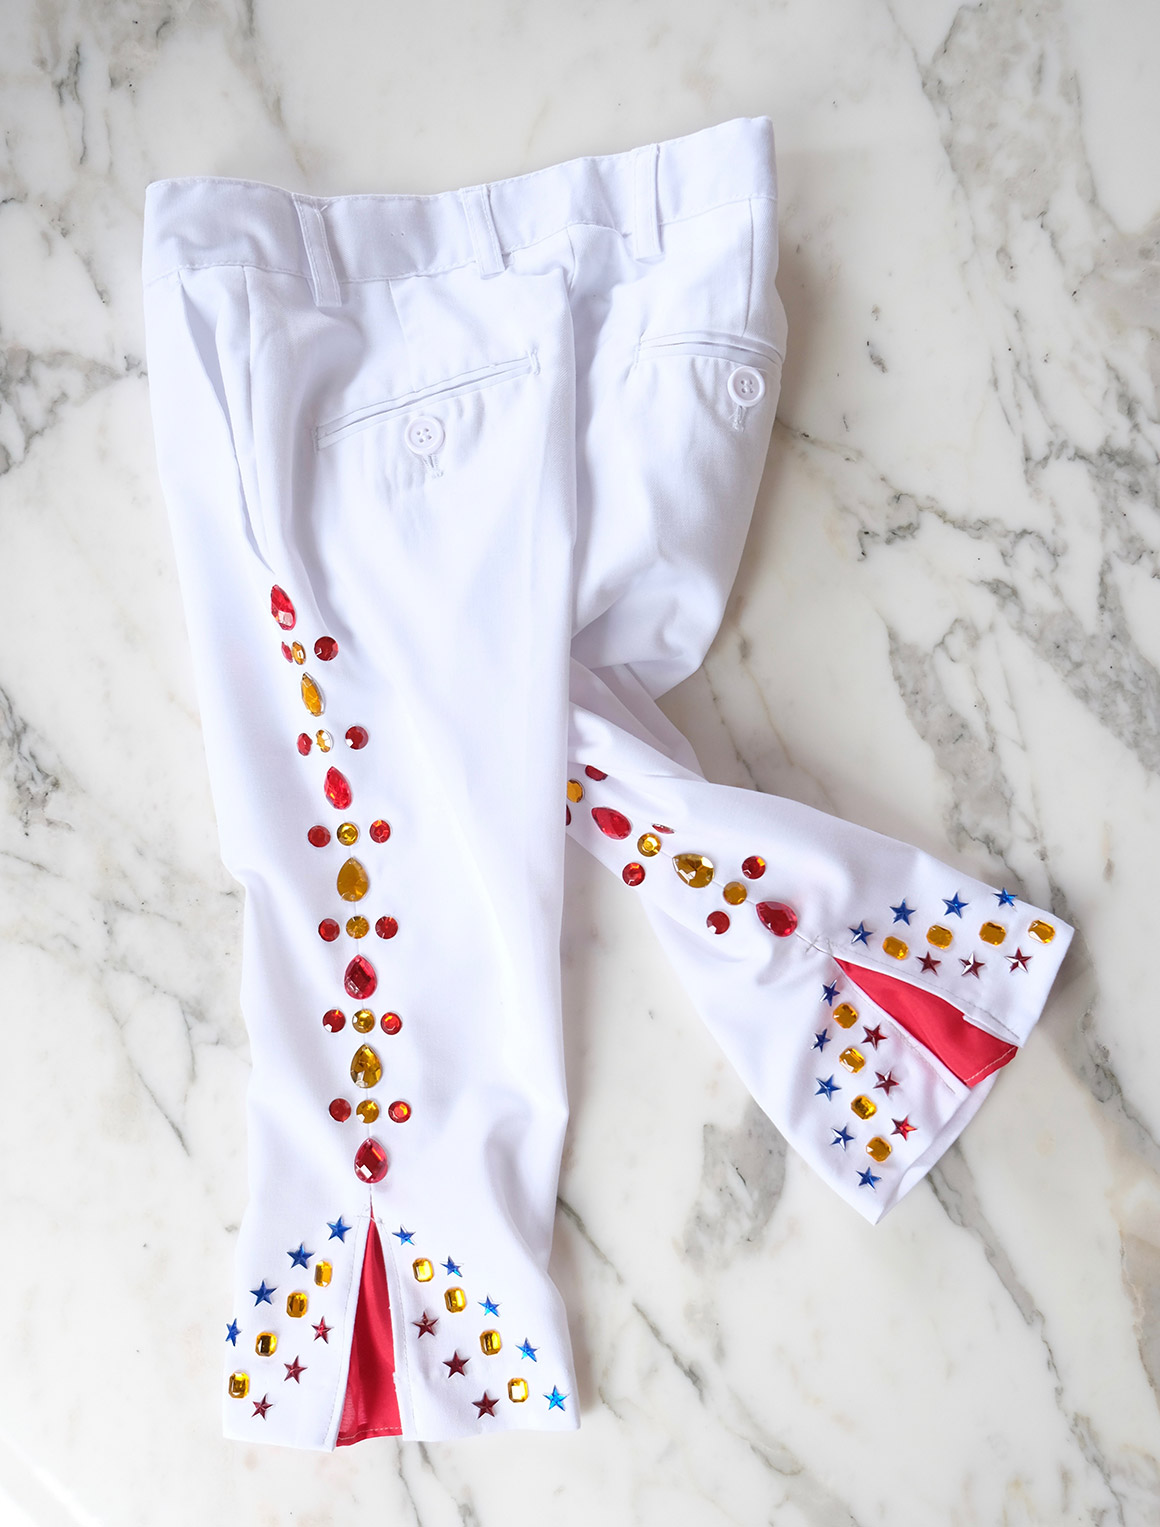
For the pants and cape I had my husband do the sewing, or as he calls is “thread injecting”. For the pants, he used a seam ripper to partially open the legs of the pants (about 2.5 / 3 inches). Then he cut out two triangles from the red fabric, and rolled hemmed the bottom edge. Then it was just sewing the red triangles to the opened slit in the pant legs.
“Devil in Disguise” – The Elvis Cape:
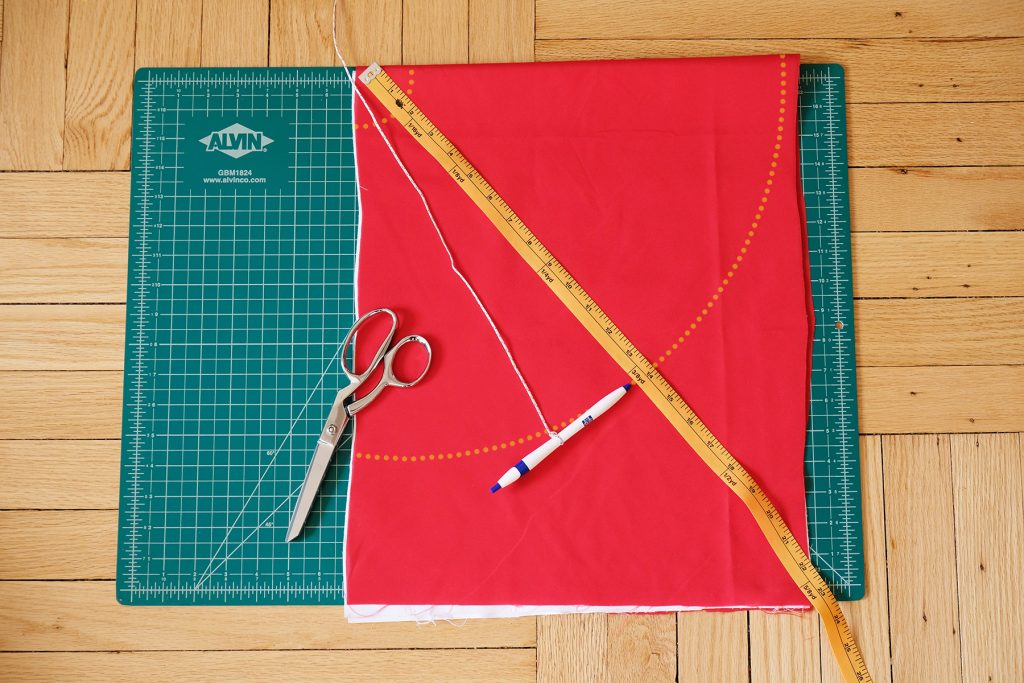
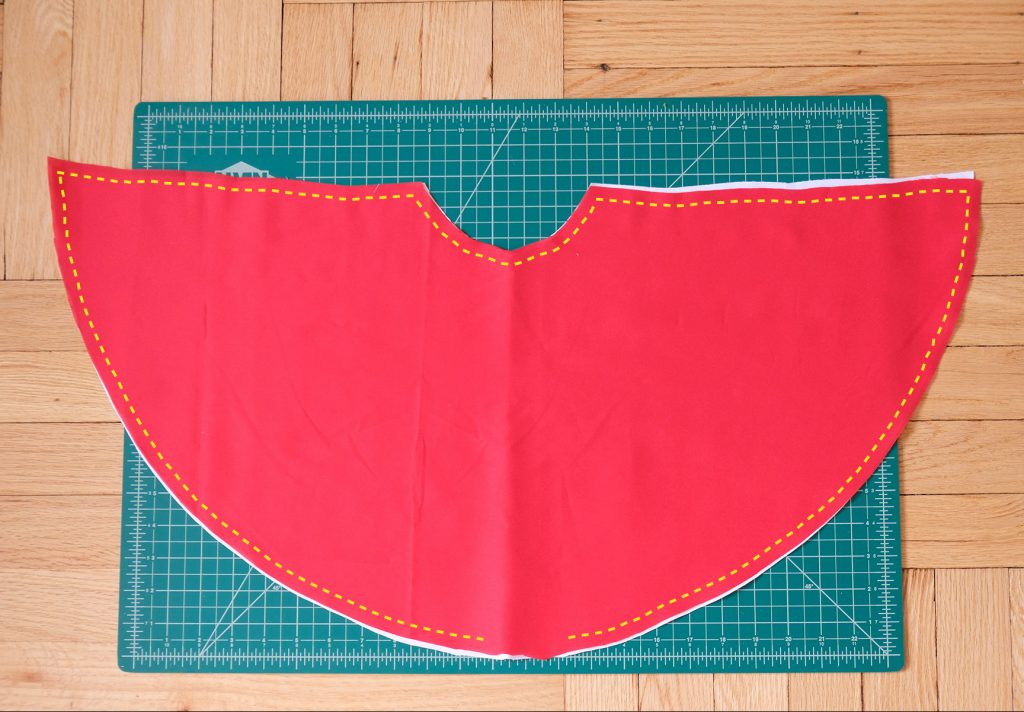
Measure twice and cut once! To get the proper size for the Elvis cape, I measured from the middle of Bash’s neck to his wrist. That’s the only measurement you need. Then I stacked the two fabrics on top of each other and folded it in half. The easiest way I found to make a clean half-circle is to tie a piece of yarn to a pen, hold the yarn at the corner of the folded fabric (keep the yarn taut) and draw the arc across the fabric, like a pendulum. Do a second smaller arc for the neck (see the yellow dotted lines on the images). The cuts don’t have to be perfect as they’ll be on the inside after sewing the two pieces together. I handed off the pieces to my husband to sew along the perimeter of the cape (see the photo with the dashed lines), but leave a small opening at the bottom. Reach inside the small opening and turn the cape inside out. You can hand sew the opening closed, but since I had my trusty glue gun, I just glued it closed.
I used the remaining scraps of the red fabric to create a matching scarf, which was super easy – I just cut out a long rectangle, and voila!
“Stuck on You” – The Bedazzling:
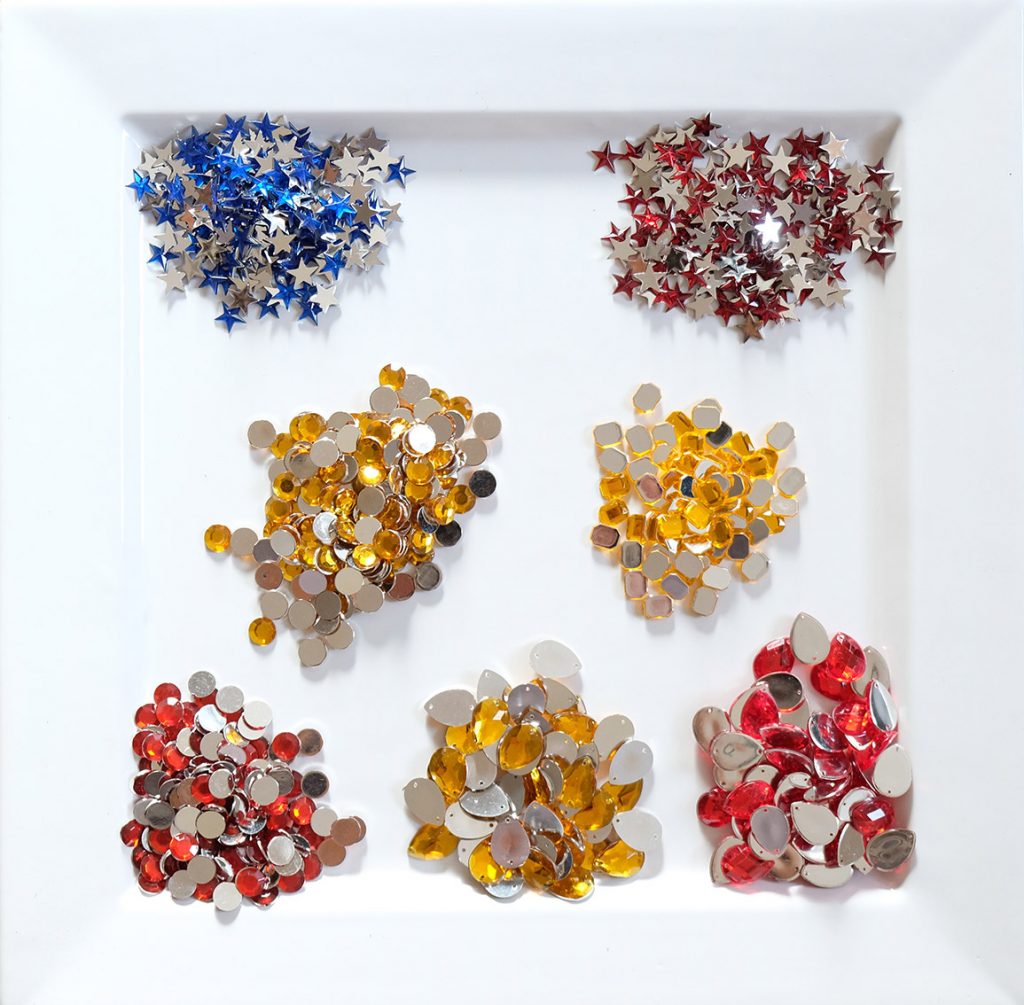
Ok, so you could definitely go all out and buy a Bedazzler. But since I’m not sure how many other things I will be blinging out in my lifetime, I stuck with our trusty glue gun. Since I planned to use the glue gun, I looked for flat-backed gems in red, blue, and gold / yellow. I stocked up and had a lot of leftovers (except for the octagon-shaped gems which I pretty much used up):
- Gold Topaz Octagon Gemstones (1)
- Topaz Teardrop Gemstones (1)
- Golden Yellow Round Rhinestones (1)
- Red Teardrop Gemstones (1)
- Red Star Rhinestones (1)
- Red Round Rhinestones (2)
- Blue Star Rhinestones (1)
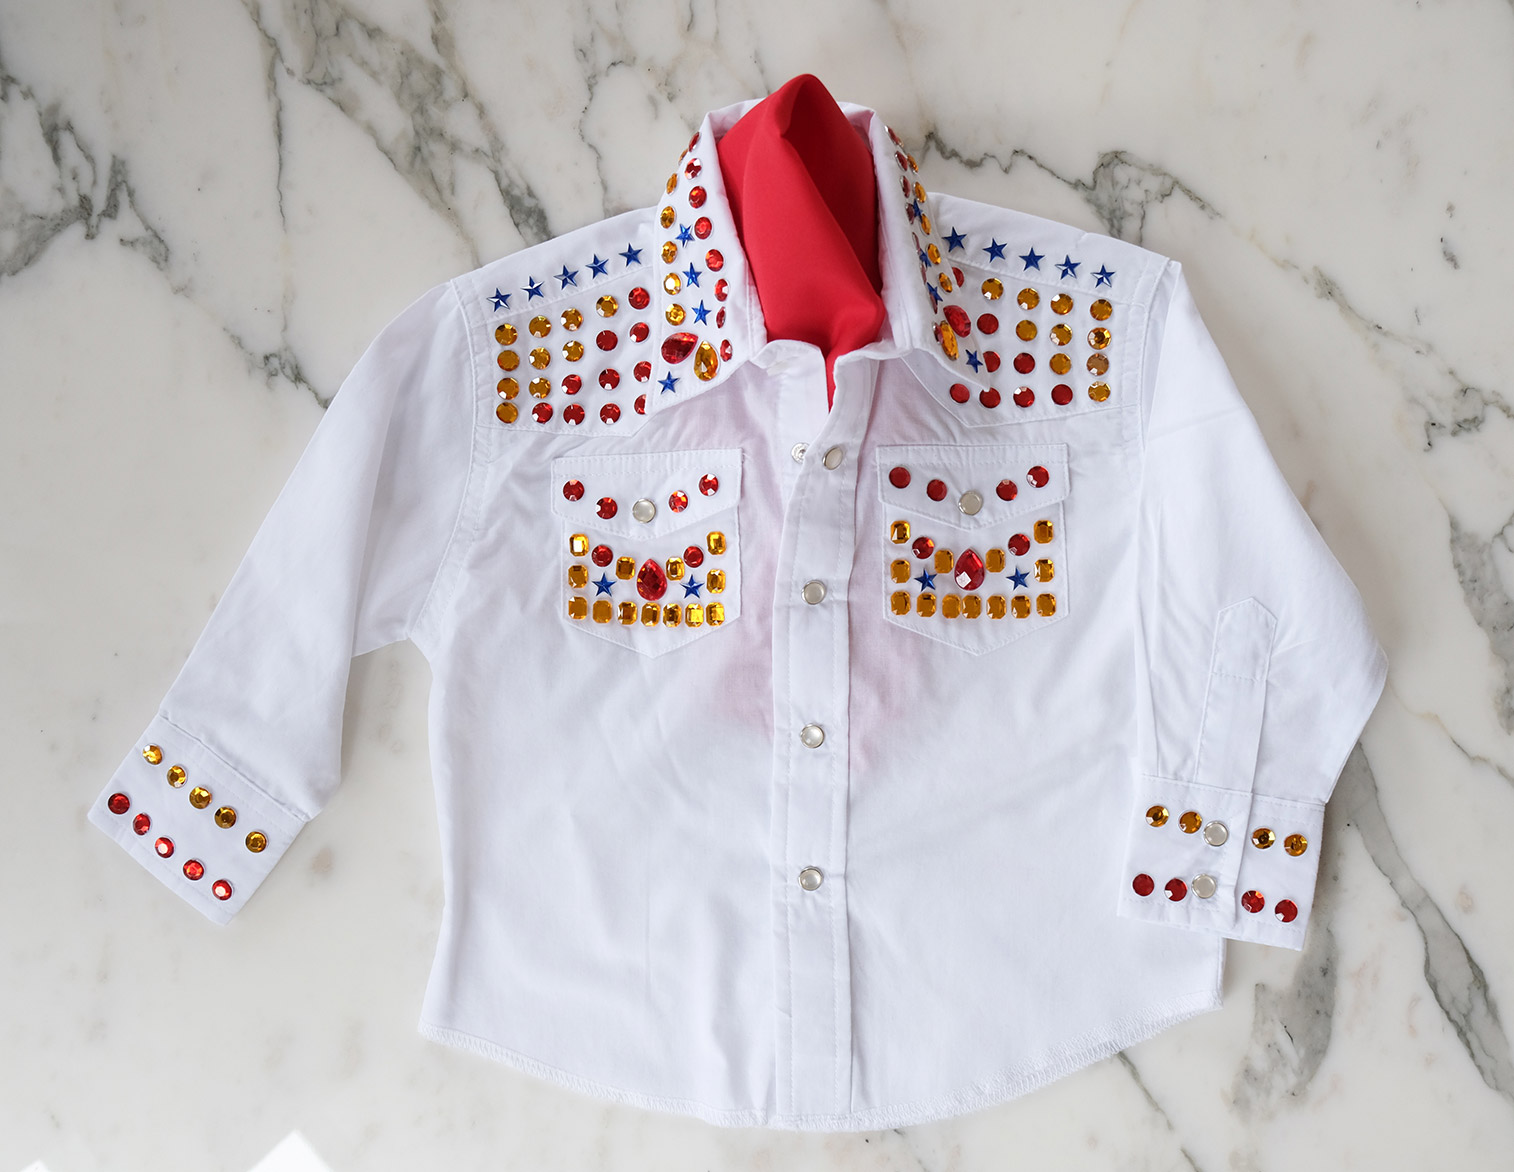
I started first with the shirt and pretty much just free-handed a pattern by laying out the gemstones and playing around with them until I settled on a design on one side. Then it was time to break out the glue gun and go to town! The Western-style front pockets made it a little tricky. I couldn’t really do an eagle pattern on the front with both the epaulets and the pockets, so I opted to make a crown-like pattern on the pockets and simple vertical lines down the shoulders. For the pants, it was pretty much the same: I started along the flares and then worked my way up each leg along the seam.
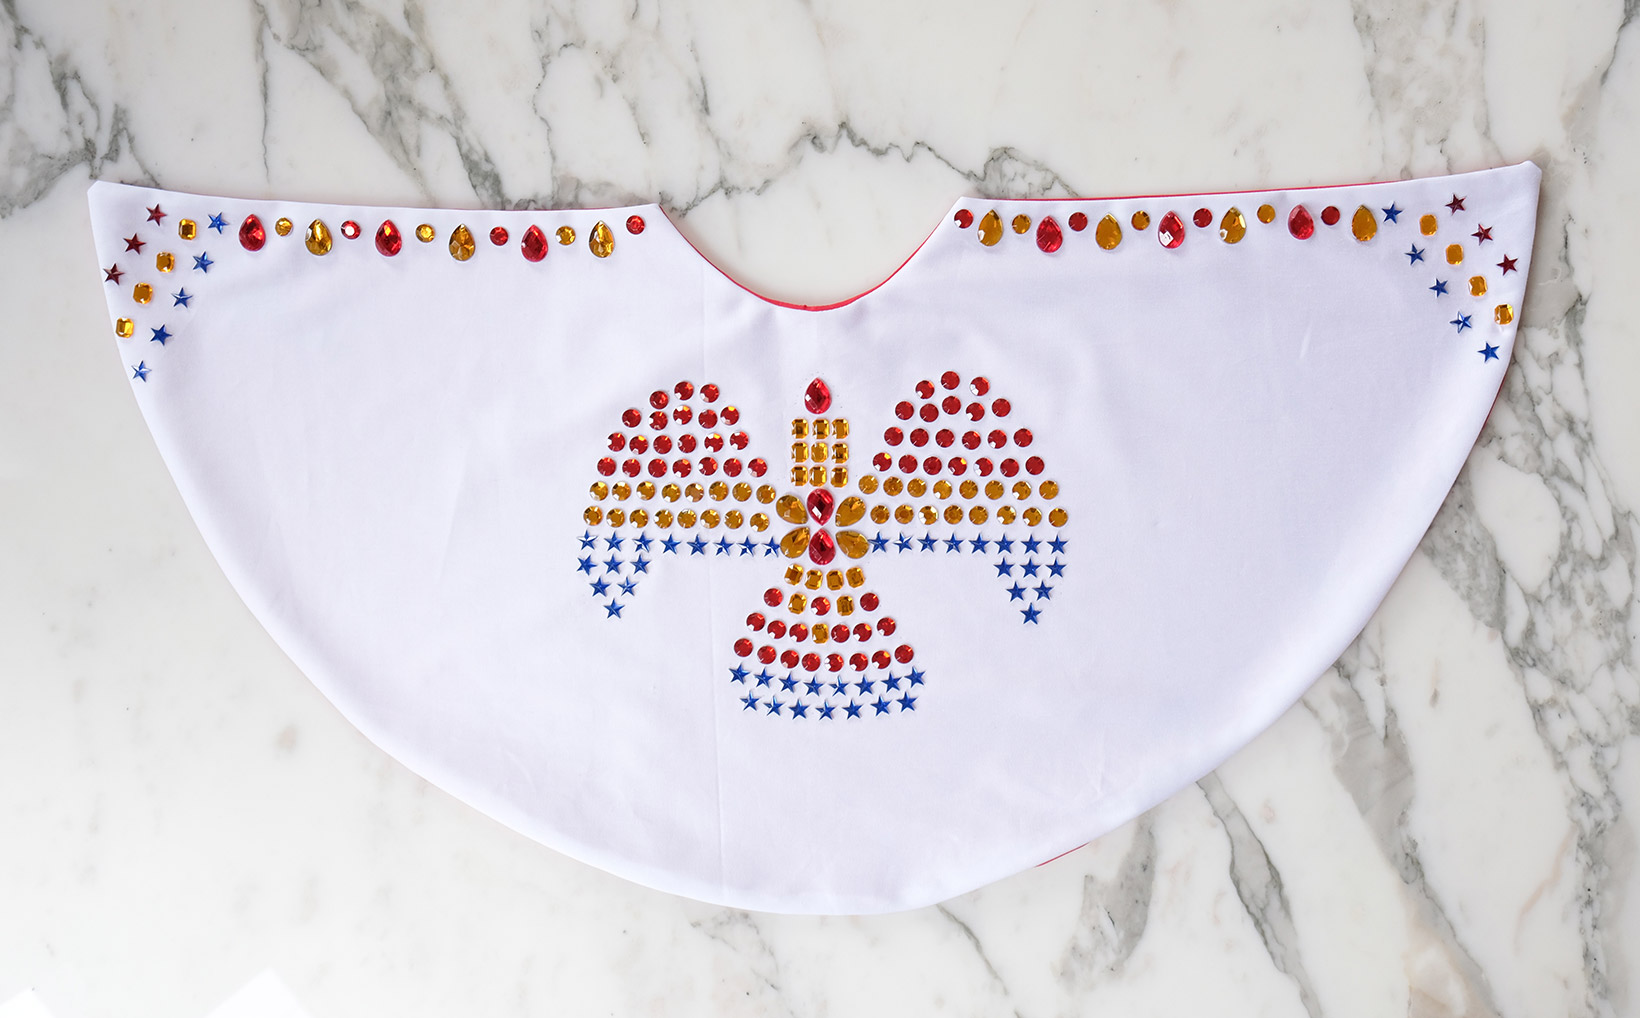
The cape pattern was a more intensive and took a little more planning. To get the eagle pattern (download here – right click then “save as”), we drew a simple eagle outline in Photoshop and printed it out. Then I laid the printout on the cape and poked holes along the pattern with a mechanical pencil to transfer the pattern to the cape. The bedazzling was just a matter of laying out a color scheme, playing with the spacing, and then gluing it all down. You could add some trailing tail feathers on the bottom of the eagle for some extra bling, but we decided to keep it simple and add a top border to match the pattern on the pants.

Overall, designing the bedazzaled patterns for this costume was fun, glue gunning became a little tedious (but very satisfying for my OCD), but seeing the finished product was worth the significant effort. The stars add a fun element, but man, were they the hardest to glue and took some serious effort to remove all the glue that had oozed out from the points. So far, the gems seem to be holding on strong with just the glue. I’m a little nervous about the stars lasting the whole day, but I think there’s enough bling to get the gist of the costume even if we leave a glittery trail down the streets of NYC.
“Good Luck Charm” – The Accessories:
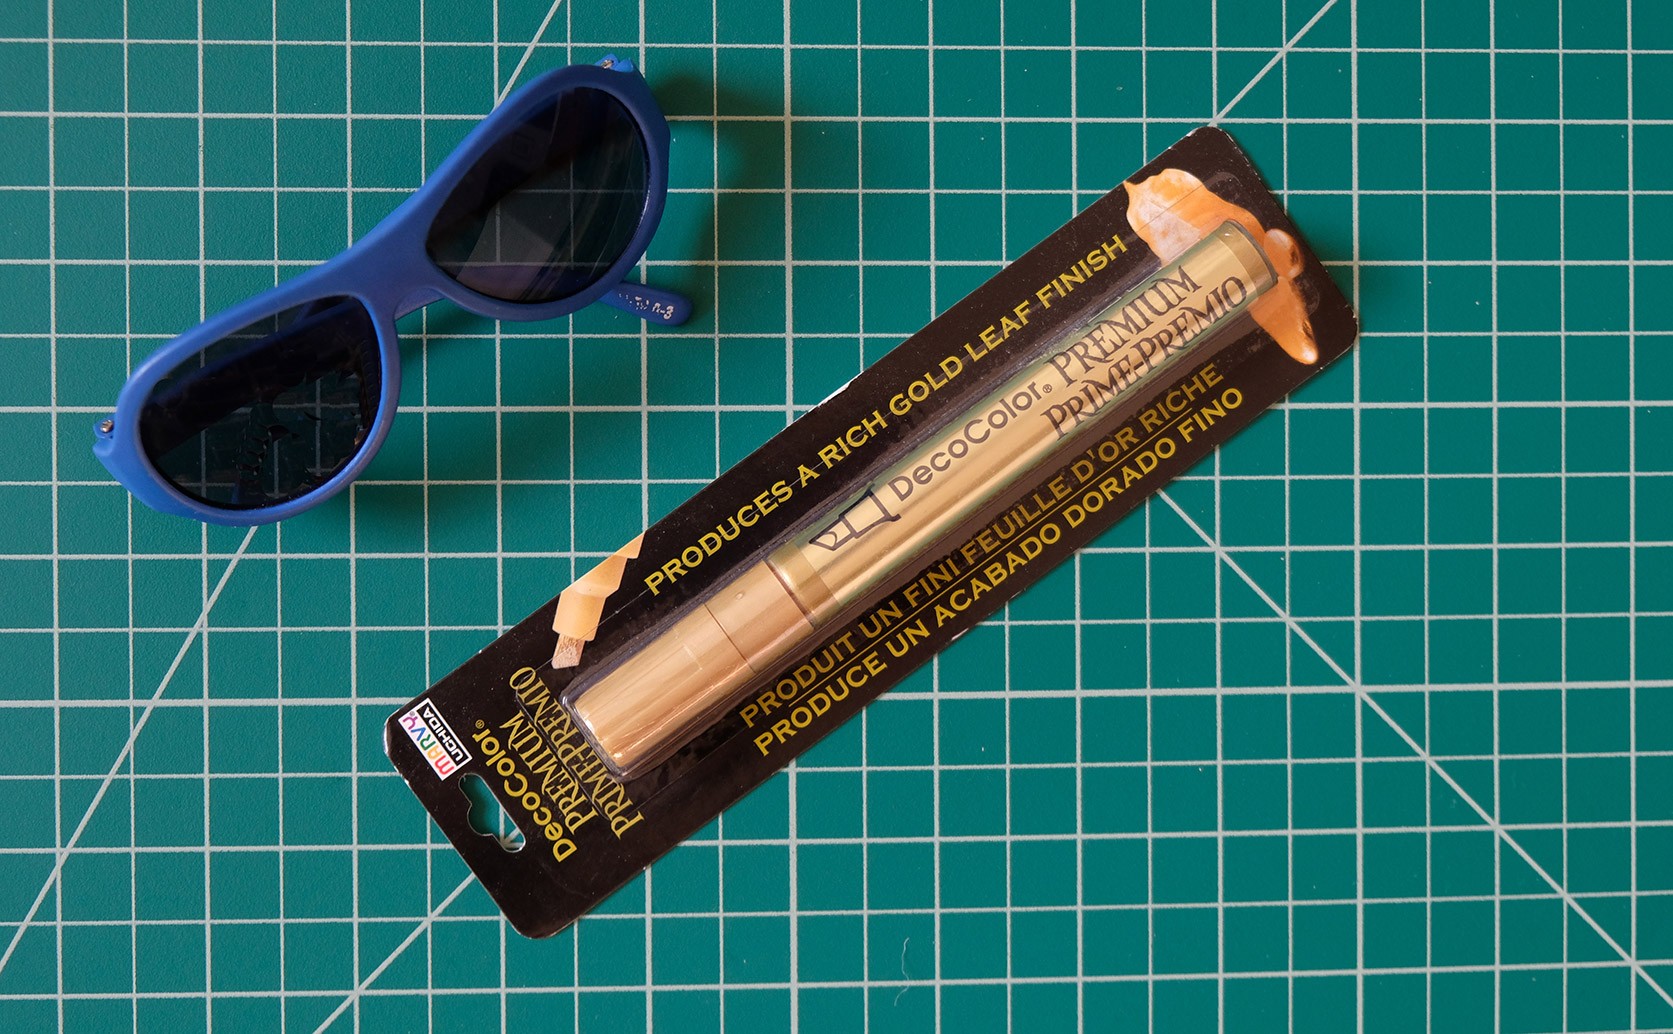
I took the easy way out on the Elvis belt buckle and purchased one on eBay, but I think I could have just as easily bedazzaled a belt or the front of the pants. And you can’t pull this look off without some gold shades. I wish Babiators made gold sunglasses, but unfortunately they don’t, so I had to modify a pair the Original Aviators we already had. It was fairly easy to pop out the glasses from the frames of the Babiators then it was just a matter of painting the frames gold with a gold metallic pen.
For the cherry on top, we might have him carry around his ukulele as a guitar (well, we won’t have him carry around all day, it’ll slow him down too much to go after the candy; we’ll just do it for the photos). And of course, we plan to give Bash some awesome mutton chop sideburns using an eyebrow pencil.
“Viva Las Vegas” – The Showstopping Big Reveal:
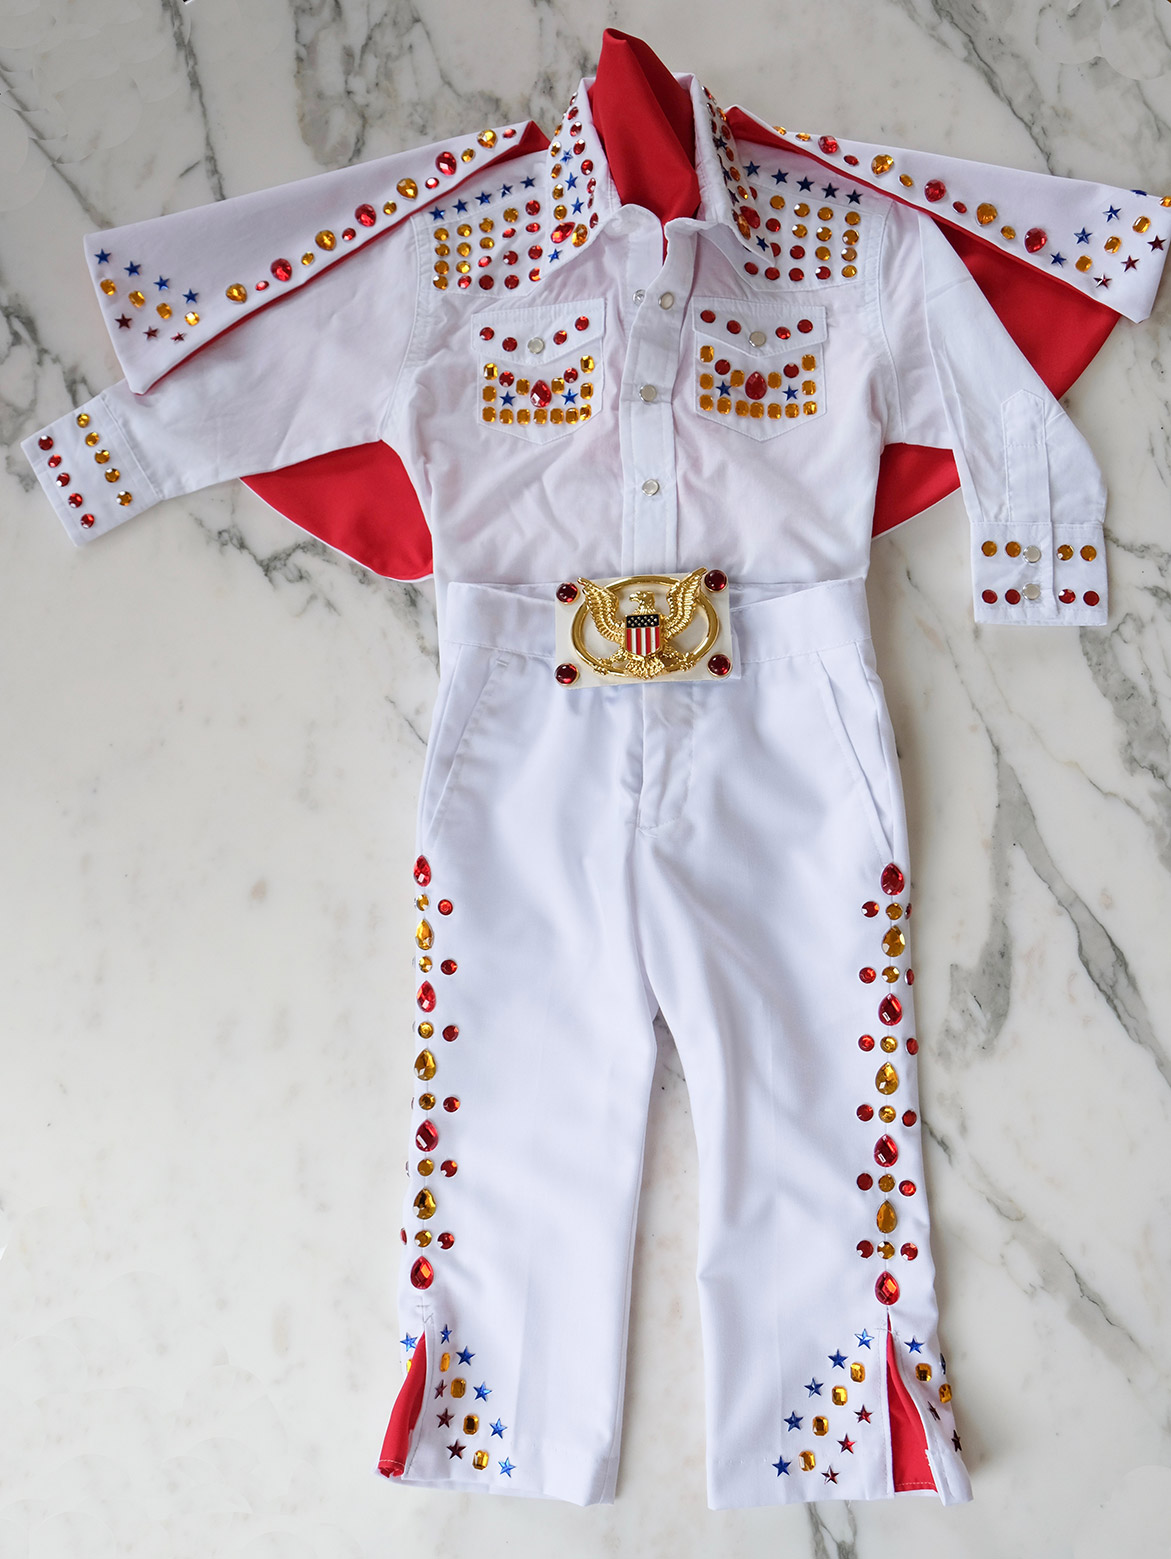
While it was a time-consuming project (the majority spent bedazzling), we can’t wait for our little hound dog to debut his Elvis costume for some pre-Halloween festivities this weekend! We know he’s gonna break a lot of hearts in his unique and sassy look that you can’t help but fall in love with!
Tell us, what are your little ones going to be for Halloween?
Happy Halloween!

Michelle
Amazing!
Samantha
I stumbled upon your Elvis costume and am making this for my son for this year. Had a question…how did you fasten the cape?
Katie
So sorry for the delay (I’ve been taking some time off). Super excited you are going to make this! Honestly, I just used safety pins to fasten the cape to the shirt. You could sew on buttons or a Velcro strip, but safety pins do the trick and are also adjustable.
Jennifer Watford
How much would something like this cost, if you made it for me?
Katie
Aww, thank you, Jennifer! I’m thrilled you like the costume! Unfortunately, I don’t think I’d be able to make another one now as I’m already procrastinating making costumes for now 2 this year 😳. I really enjoyed the creative process making this one though; my inner teenager was thrilled with bedazzling!
Allison
How did you attach the cape to the shirt?
Katie
Nothing fancy here, I just used safety pins. You could probably see buttons or a Velcro strip, but two safety pins did the trick.
Becky Everhart
Thank you for posting this! My 16 month old’s costume was a huge hit. The eagle stencil was everything! Also a tip for those looking for white pants for a baby. I ordered an inexpensive white shirt/ pant set off of ebay. It came w/ a bowtie (unused). The shirt did not have front pockets, but once I added a design, they were not missed.
Allie O
Love this. Making one for my son. I cannot find a belt buckle. What did you do for that?