Happy Spring! After welcoming the first few days of spring with an unexpected snowstorm, we are finally starting to thaw out. And, what better way to usher in the change of seasons than some indoor gardening with kids! While I’m certainly no green thumb (I fully admit to having to replace succulents on a regular basis) and we have limited growing conditions as NYC apartment dwellers, there are still so many fun kids’ gardening-related activities that can be done indoors (or al fresco). We may not harvest a bushel of corn by the end, but Bash had a great time with these multi-sensory activities! Everyday since we initially planted our seeds, Bash has been excitedly talking about his seed and planting activities. We read our Seed to Plant book everyday and Bash enjoys watering and checking on his plants throughout the day to see if “they are getting bigger like me”, despite not seeing any action yet. Although some concepts were a little advanced for him, there was still a lot he was able to grasp. We plan to make this a seasonal activity; it’s perfect for kids of ALL ages.
Materials
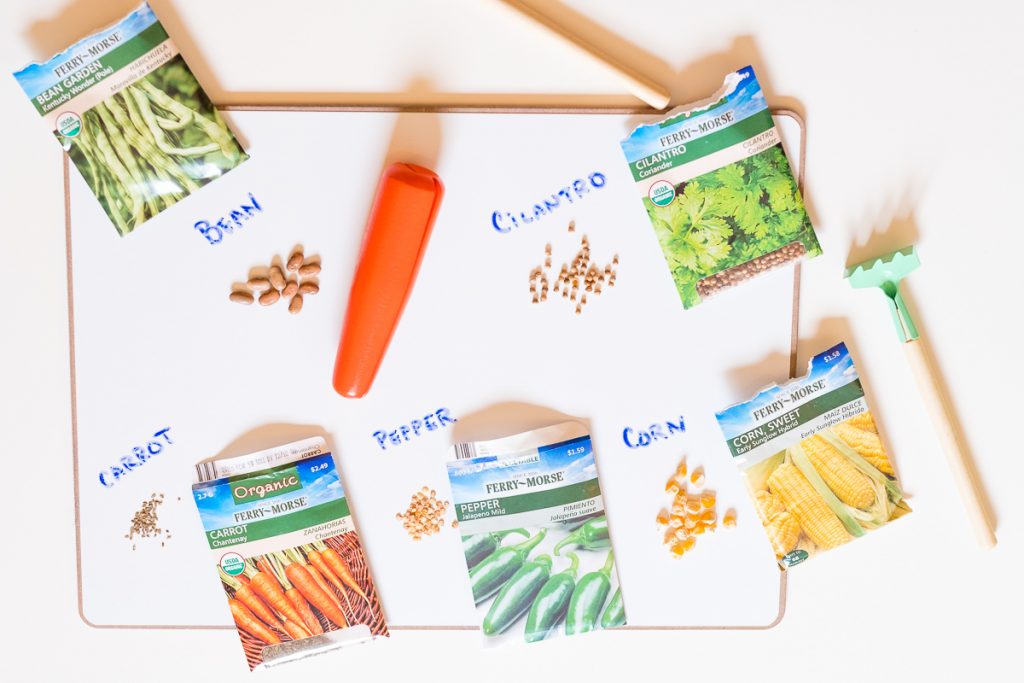
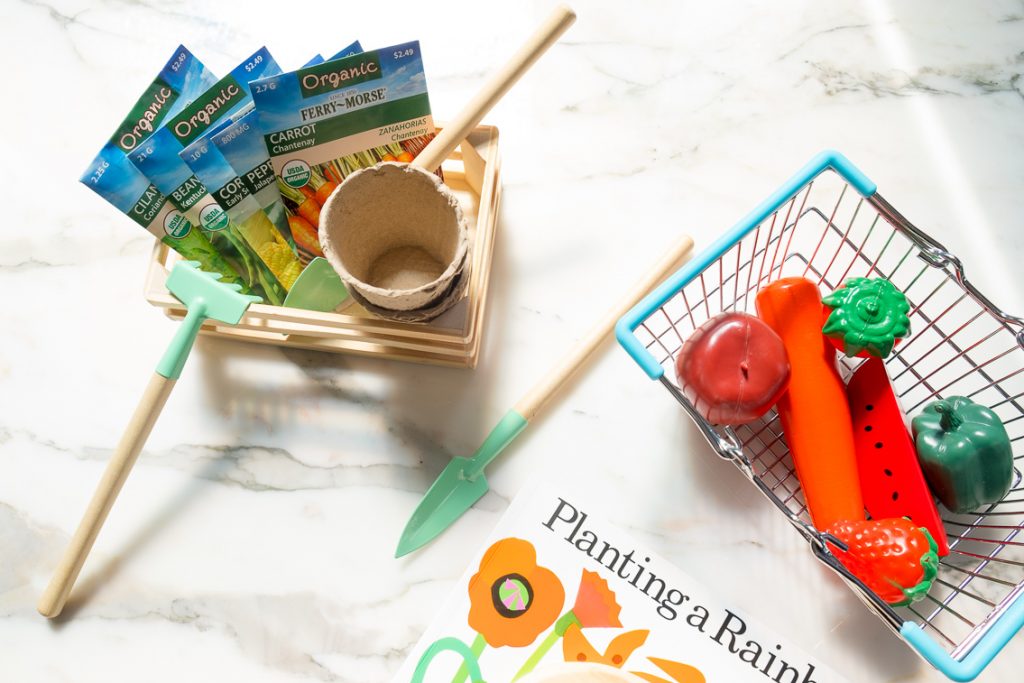
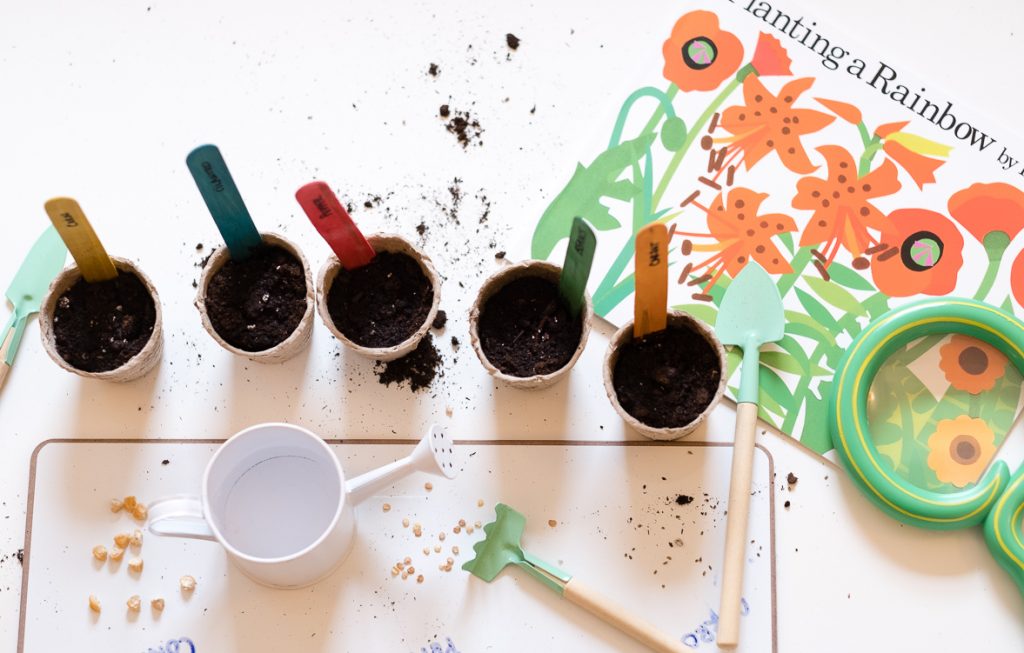
- Packets of seeds: While at Home Depot, I let Bash choose a variety of seeds, so we’ll see which ones actually grow well in our limited NYC apartment conditions. In the past, we’ve typically had good luck with beans and jalepeno peppers, so I was sure to include those. He also selected corn, carrots, and cilantro to round out our 5 plants.
- Seed starter pots: I got a set of seed starter pots from our local Flying Tiger store (a Danish store that carries fun, seasonal gifts and products – think Ikea of tchotzkies), but these peat pots are similar. You can always upcycle toilet paper rolls, egg cartons, lemon rinds, or small plastic containers (here’s a link to some creative upcycled pot ideas).
- Soil: We used Miracle-Gro Seed Starting Potting Mix
- Gardening tools: A shovel and rake are definitely more for play than actually necessary if starting indoors, especially at the initial stages before transferring the sprouted plant outside or to a larger pot. I got our set at Flying Tiger but here is another kid-friendly set from Melissa and Doug. A spray bottle (included in the Melissa and Doug set) is recommended for light daily watering.
- Books: Before we started our seed and gardening activities, we read several spring / plant-themed books. During the activities, we referenced National Geographic Kids Seed to Plant, which has great pictures and large text. Our other favorites include: The Tiny Seed, Planting a Rainbow, and Oh Say Can You Seed. We’ll be featuring these in an upcoming Sunday Shelfie book review post.
- Examining tools: Magnifying glass, tongs / tweezers for examining seeds up close and transferring activities.
- Craft sticks: Colorful wooden craft sticks to label and identify the plants.
- Tray: Any sort of white tray or surface will do. We used our dry erase board but if you plan to spend more time doing sorting or transferring activities with the seeds, a painter’s tray or ice cube tray would be better to contain the various seeds.
Indoor Gardening Activity Instructions
We spent about 2 hours playing with and planting our seeds. Depending on your child’s attention span, you can break up the activity into the following 5 parts. The fun part is that you can get as scientific and detailed as you want with these activities and do them year after year to expand your garden and introduce more complex topics. Bash kept asking why the planted seeds needed sun, but we definitely stopped short of photosynthesis, hahah! And we didn’t even cover the birds and the bees yet (ahhchooo…I’m talking about pollen transfer!), haha!
I. Where Do Fruits and Vegetables Come From
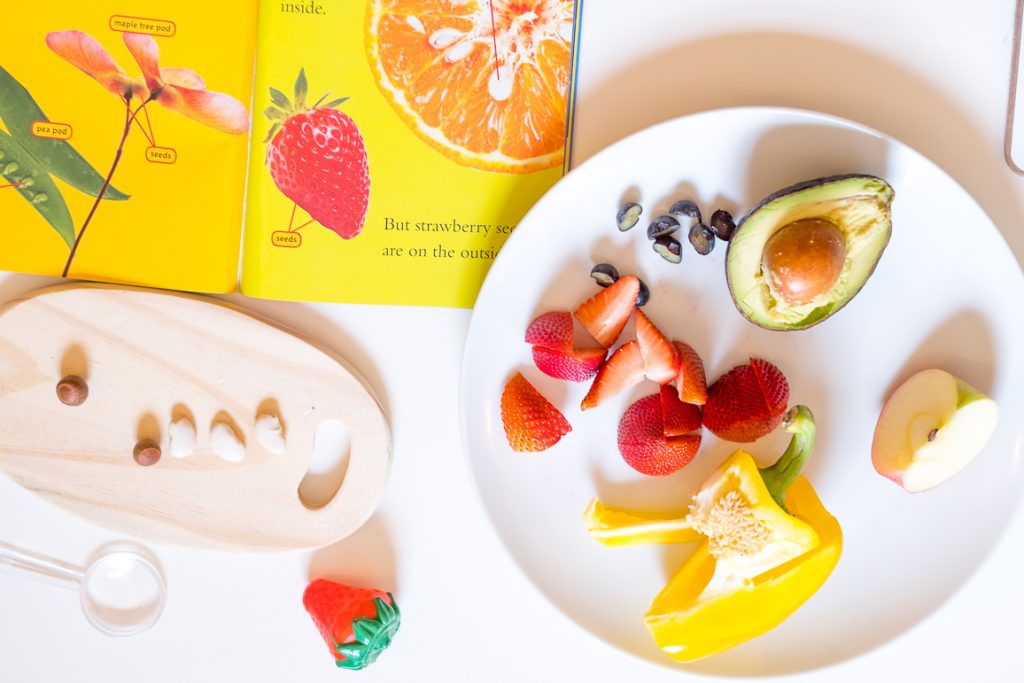
Bash had just woken up from his nap, so I wanted to incorporate a snack into this activity. Scrounging up whatever fruits and veggies we had lying around, I made a plate containing an avocado, strawberries, blueberries, bell peppers, and apples. On a separate tray, I added some dried beans and acorns to the mix to provide a little more seed variety.
As Bash enjoyed his snack, we talked about how some seeds are inside the fruit / vegetable (peppers, cucumbers), while others are on the outside (strawberries). Bash used his magnifying glass to look for the seeds and enjoyed comparing the big avocado pit to the tiny blueberry seeds. We also talked about which seeds are edible (blueberries), versus which seeds we avoid (watermelon) and which seeds we would need to cook (beans, lentils). Finally, we compared the dried seeds to the real fruit / vegetable. Bash really liked seeing the bell pepper and then comparing the fresh pepper and its seeds to the dried jalepeno pepper seeds (which were very similar). Had I been better prepared, it would have been nice to also have some fresh corn, cilantro, and carrots on hand to match our seed packets. Instead, we looked at pictures and I pulled out some of Bash’s wooden fruit / veggie toys.
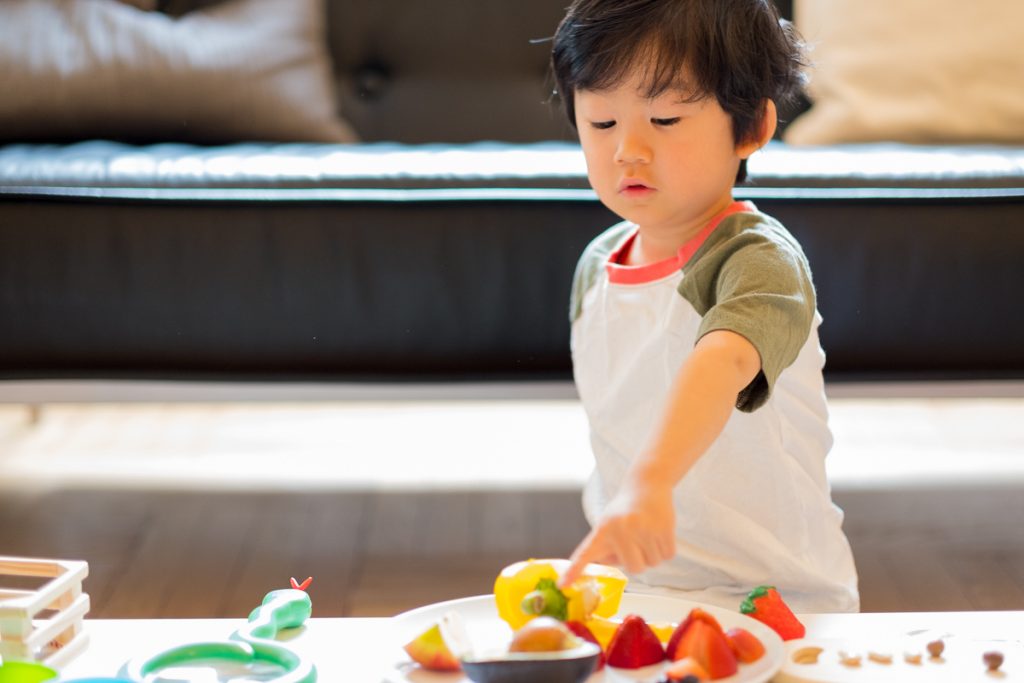
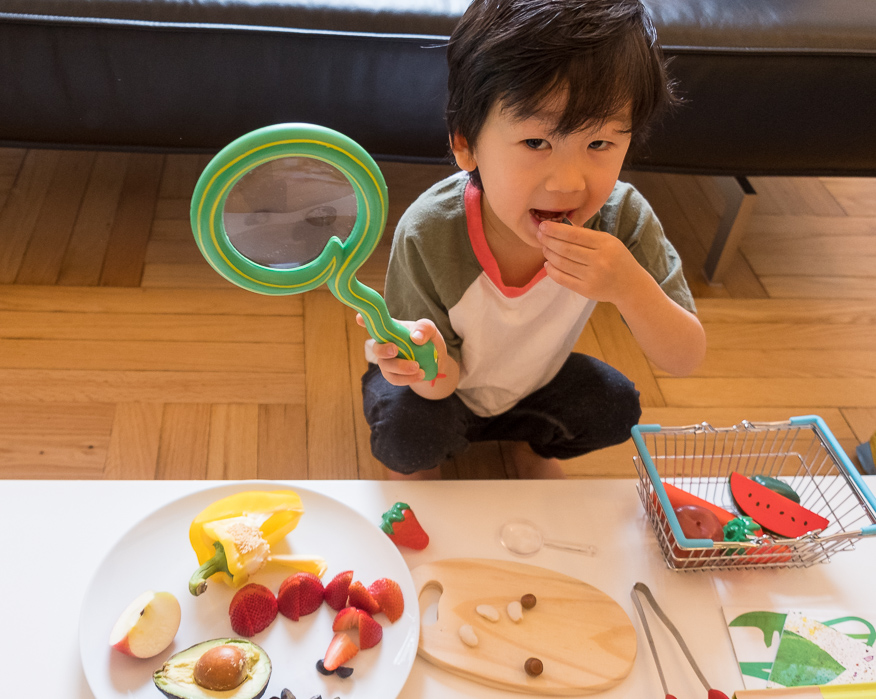
To extend this activity, you could also have your child go on a pantry scavenger hunt and look for foods with seeds (beans, lentils, flax seeds, nuts, and other fruits and veggies).
II. Examining Seeds Using the 5 Senses
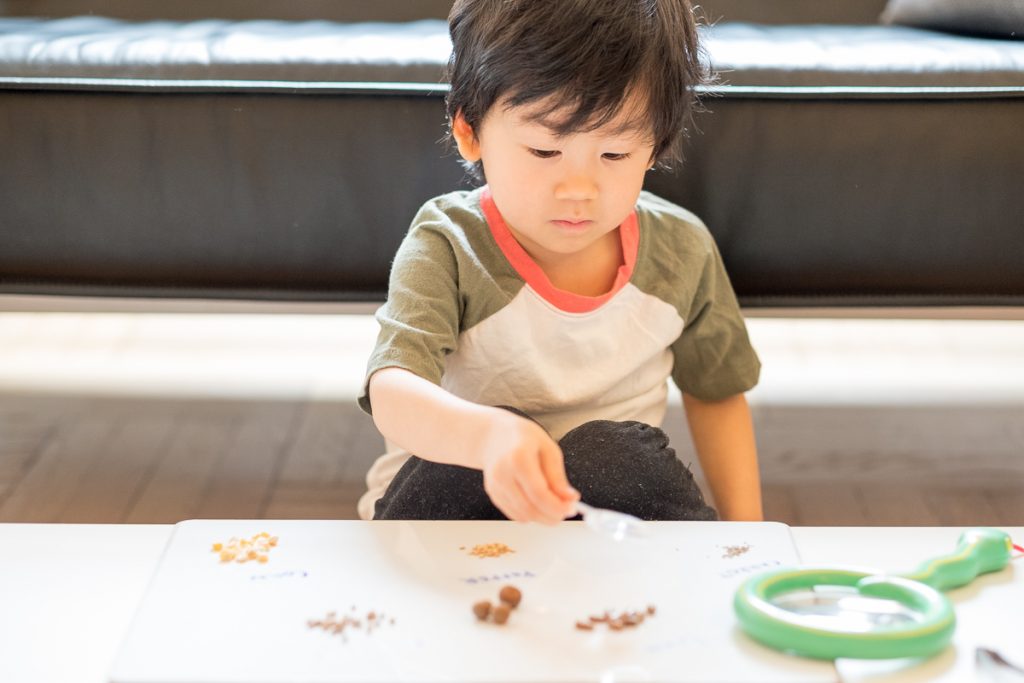
We first talked about our 5 senses: sight, smell, sound, taste, and touch and which body parts we use for each of these senses. Then we poured a few seeds from each packet (and some dried beans and acorns, which we didn’t plant) on to our white board for examination. We used our senses to describe the various colors, textures, smells (well, besides the cilantro / coriander, they didn’t really have a smell), shapes, and sizes of the seeds from our packets. To “listen” to the seeds, Bash liked shaking the remaining seeds in their packets – some were soft while the beans and corn seeds were much louder. We skipped “tasting” the seeds since we had just enjoyed the “fruits of their labor” during snack!
III. Plant Lifecycle
For this section, we referenced the Seed to Plant book to talk about how a seed grows and what a seed needs to develop into a plant. Specifically, we looked at pages 8 – 11 to show how the seed will sprout, grow roots under the soil, and shoot up a stem and leaves above the soil. For now, I think these concepts were a little over Bash’s head, but we plan to continue to refer to them as we watch our seedlings sprout.
Older kids might enjoy putting the lifecycle of a plant in the correct order to practice sequencing. Alternatively, you could have young Picassos draw pictures of a plant in its various stages of growth and / or sort the various parts of the plant (stem, flowers, leaves) into their various categories using real flowers or picture cards.
IV. Planting Seeds
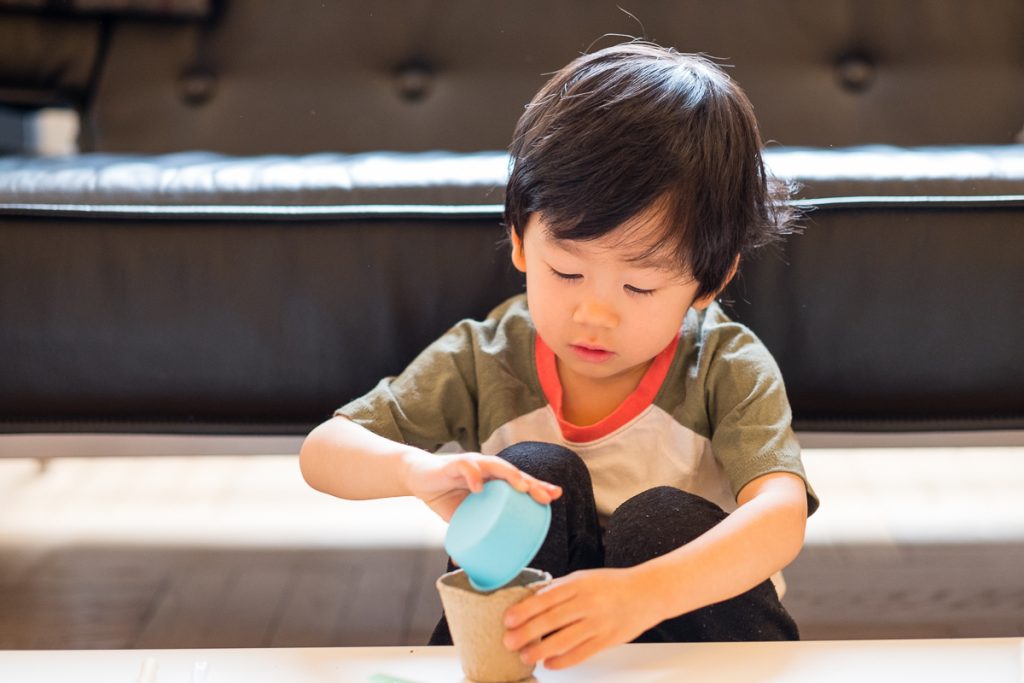
Bash was super excited to get started planting…until his hands got covered in dirt (he’s kind of a neat freak; I guess he’s a true city boy!). We scooped the potting soil into each pot and I had Bash put a few of each of the 5 types of seeds into each pot, though I’m pretty sure he added about 25 carrot seeds to the tiny pot! We covered the seeds with about an inch more soil and were sure to label each pot before putting them in the windowsill. We also sprayed each with a little bit of water until the soil was well moisturized.
V. Daily Care
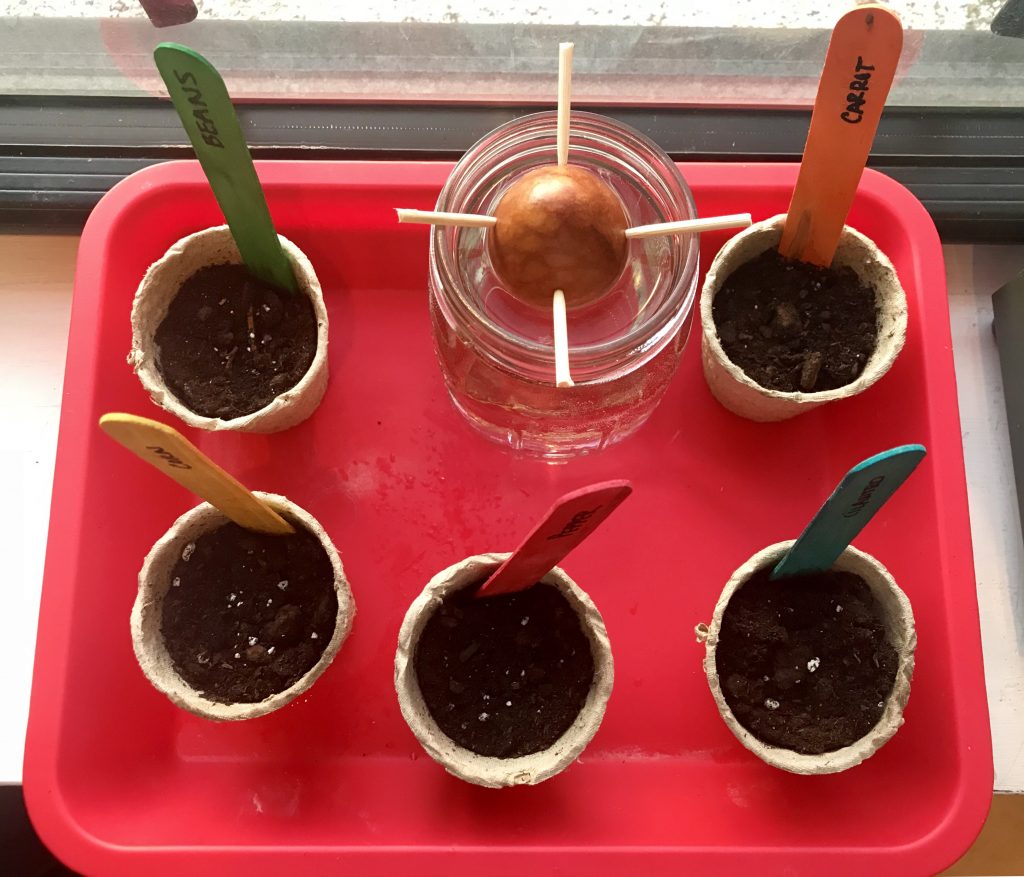
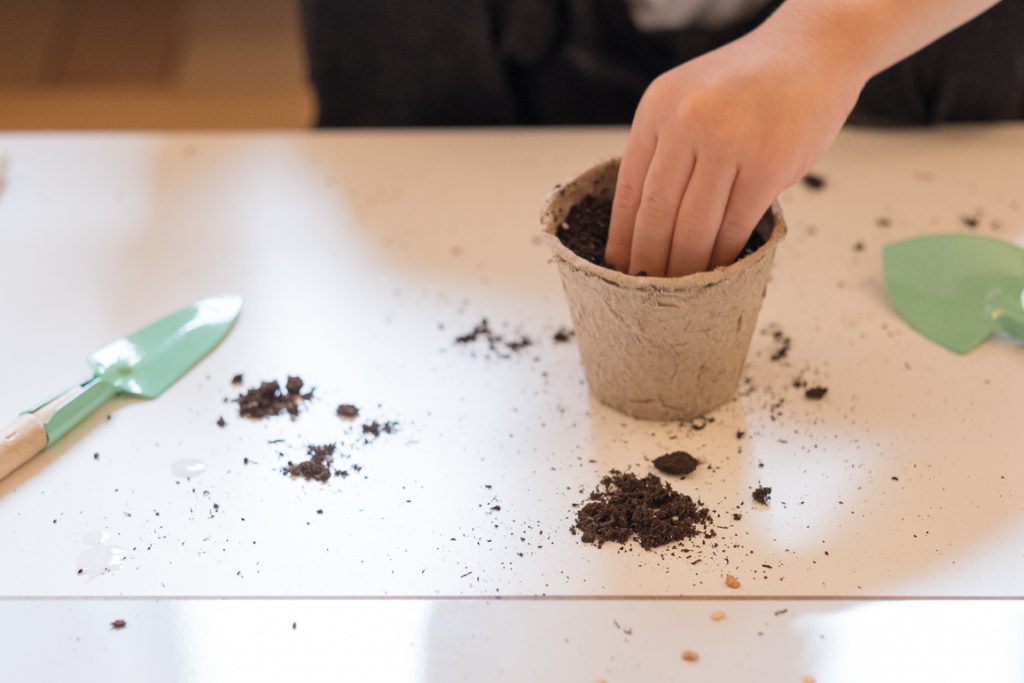
Everyday, we check our pots to see if there’s been any action. Bash loves using his spray bottle to give them water. We can’t wait to see what grows!
Additional Activities
Bash enjoyed these indoor gardening activities so much that we’ve been continuing our “gardening” activities over the past couple of weeks and plan to continue well into spring.
- Conducting experiments with light levels, water frequency, and O2 levels: For this activity, we spent a new day planting additional seeds using our leftovers (Part IV). However, this time, we placed them in various spots around the apartment to see how low light vs. lots of sunlight impacts their germination. We also vary up how frequently we water the seeds and placed a couple of pots with lids over them to see how lower levels of air circulation impact their growth.
- Growing an avocado: Since we used an avocado as part of our examination of fruits and vegetables activity (Part I), we decided to try our hand at planting the pit. It is super easy and takes all of 5 minutes to get started! Just clean the pit, stick 4 toothpicks in the center, and place it halfway submerged in a glass jar of water.
- Sorting and identifying seeds: With the leftover seeds and packets (or pictures of the corresponding plant), have your child take their best guess at matching the seed to the plant. For younger kids, you can use the leftover seeds for various sorting and fine motor skills activities.
- Visiting a farmers’ market or botanical gardens: We love visiting our local farmers’ markets (here’s a link to various GreenMarkets in NYC) to check out the fresh produce. We are also members at the New York Botanical Garden, which has terrific kids’ programming and drop-in projects at the Everett Children’s Adventure Garden. We also enjoy an annual day-trip out to Stone Barns Center for Food & Agriculture, usually for the Sheep Shearing Festival.
- Painting pots: Last year, at Bash’s Poppyseed Mommy and Me class, he painted a pot and planted a very robust string bean plant for mother’s day. If our seedlings turn out, we plan to transfer them to larger pots. For a more artistic activity, I’ll have Bash paint the pots before we transfer the plants to their new homes.

Sweta
Loved this activity, when Siya grows up a little I would love to do this with her. Thanks for sharing
Nishat
Gardeners also tend to share the produce they grow, thus improving the vegetable intake of their friends and family and keeping them connected to their social network.