
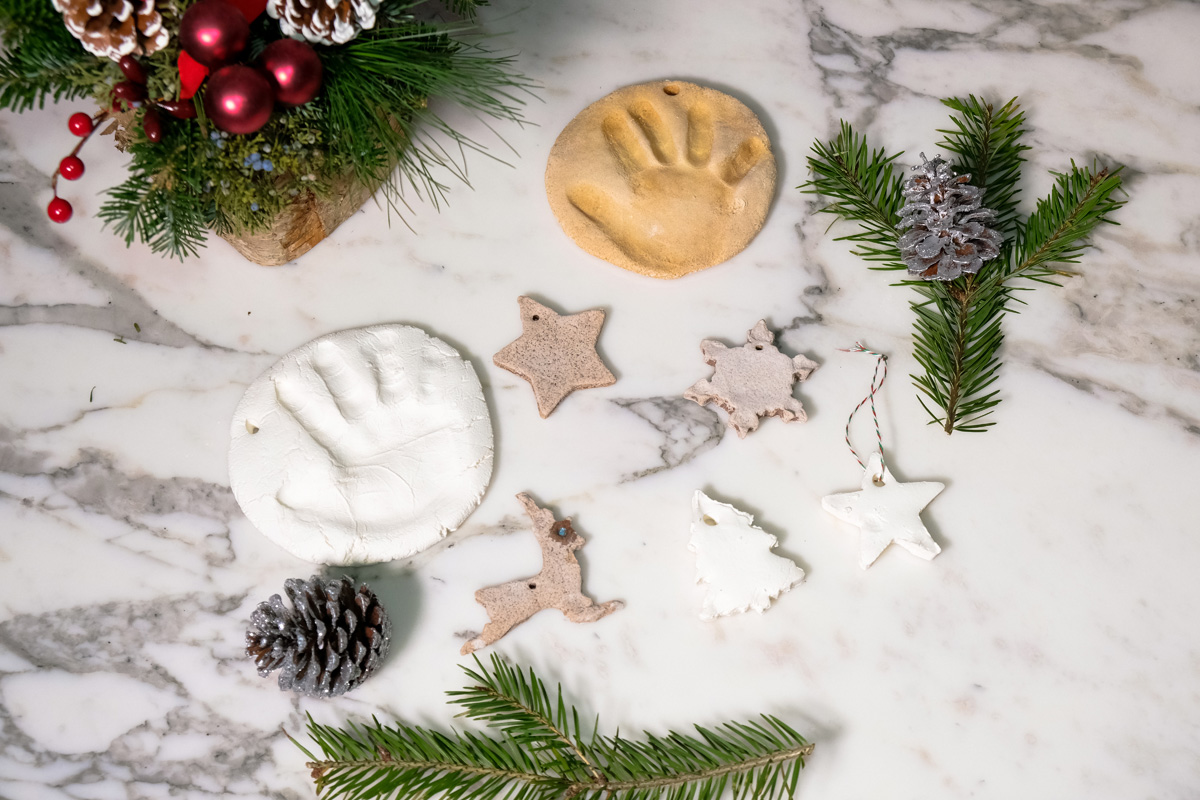
This past weekend, we cozied up at home and tried our hand at some fun holiday crafting! I remember making dough ornaments with my mom when I was little and they remain some of our most treasured ornaments. These also make great homemade holiday gifts for parents, grandparents, and teachers! After an exhaustive Pinterest search and what felt like “America’s Test Kitchen” meets highly active preschooler, we sampled a variety of dough ornament recipes using salt dough, homemade clay, and cinnamon salt dough. Of the three recipes, the Cinnamon Salt Dough was by far my favorite – smells great and easiest dough to work with (not too sticky).
Ingredients
| Salt Dough |
|
| While salt dough is extremely easy to make, I found this version a little dry to the touch. While it probably won’t matter if you plan to use food coloring / paint, the dried dough has a more sparkly sheen to it. |
| Clay |
|
| Soft to the touch and malleable. The look is very white and clean. However, our dough turned out very sticky and it was a struggle to remove extra dough from the cookie cutter shapes. |
| Cinnamon Salt Dough – ⭐ Bash & Co. Favorite |
|
| Super easy to make and it smells delicious (I was tempted to take a taste!). This recipe yielded the best dough – malleable but not too sticky, so it was the easiest to separate from the cookie cutters. |
Other Materials
- Cookie cutters – use simple shapes for easier peeling; our intricate snowflakes and thin reindeer legs got stuck and eventually broke off a couple of times. Overall, simple shapes will be easier for younger children to work with.
- Wax / parchment paper / silicone mat
- Acrylic paints and paintbrushes / food coloring
- Glossy Mod Podge or finishing sealer
- Straw / bamboo skewer (to poke hole for ribbon)
- Ribbon / string
- Additional decorations: glitter, craft rollers, sprinkles, garlic press or play dough roller, alphabet pasta
Instructions
Step 1: Mixing the Dough
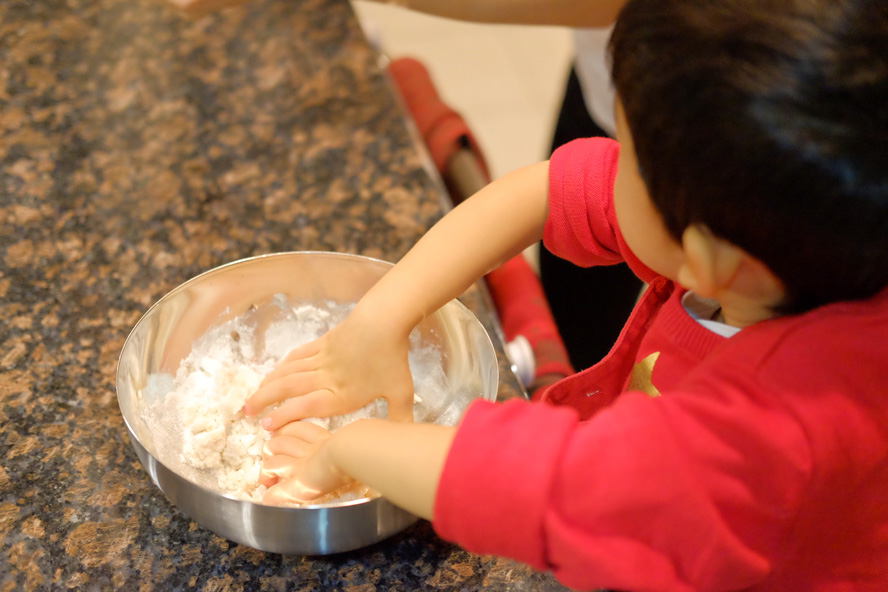
For Salt Dough / Cinnamon Salt Dough: Combine ingredients in a bowl, mixing well. Form into a ball by hand and knead dough until pliable (about 5 minutes) on wax / parchment paper / silicone mat (sprinkle with a little flour to prevent sticking).
For Clay: In a medium-sized saucepan, combine cornstarch, baking soda, and water. Stir over medium-high heat until dough thickens and has a smooth consistency. Remove from heat and pour dough into a bowl. Cover with damp towel or plastic wrap until cool. When dough is cool to the touch, knead on a smooth surface (silicone mat) sprinkled with cornstarch.
Note: If you are using food coloring to dye the dough, add the coloring to the water before mixing.
Step 2: Shaping the Ornaments
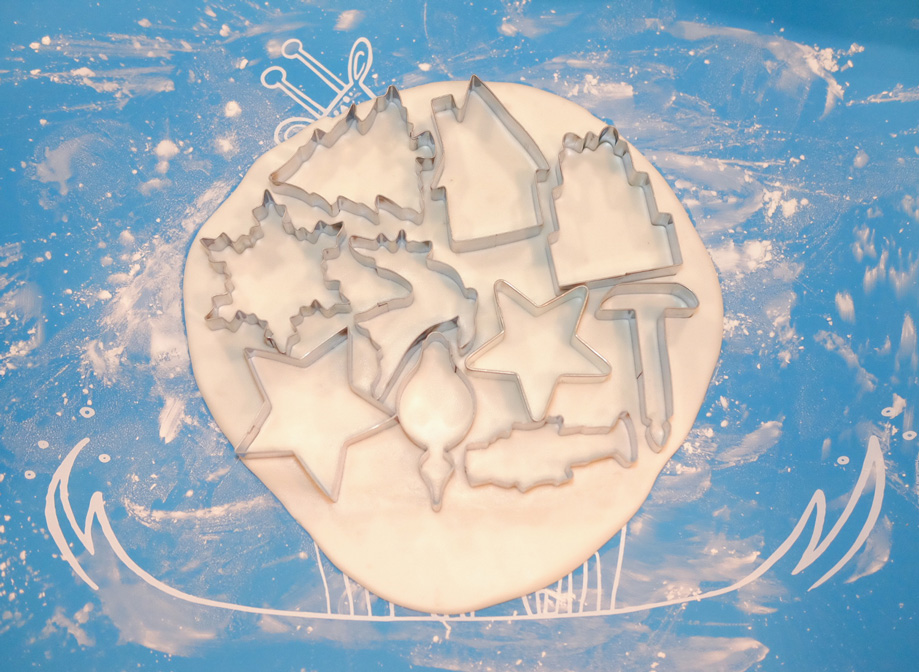
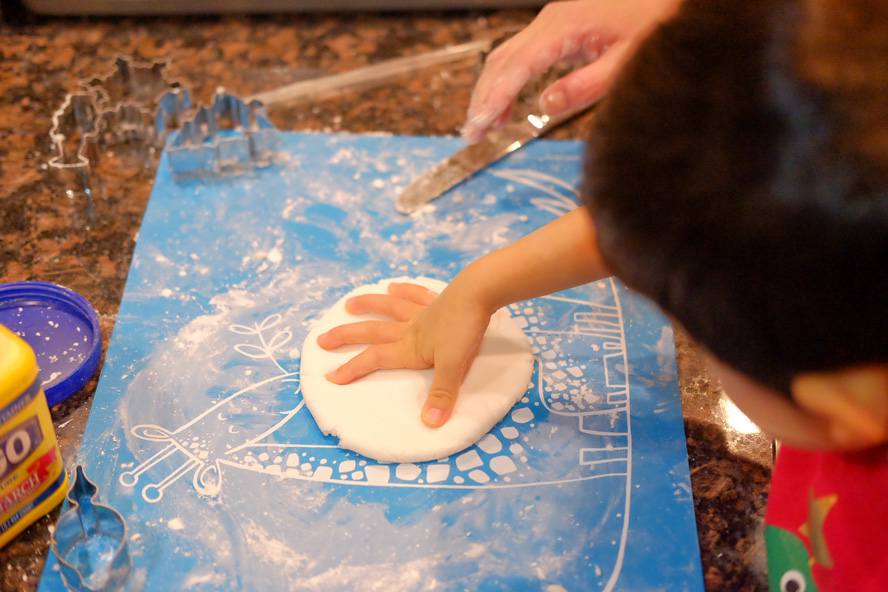
On a flour or cornstarch covered smooth surface (i.e., silicone mat or wax paper), roll dough to about 1/3 inch flat. Use cookie cutters to press out various shapes or take hand / foot imprint. Don’t forget to use your straw or bamboo skewer to poke a hole for where the ribbon hanger will go.
Step 3:
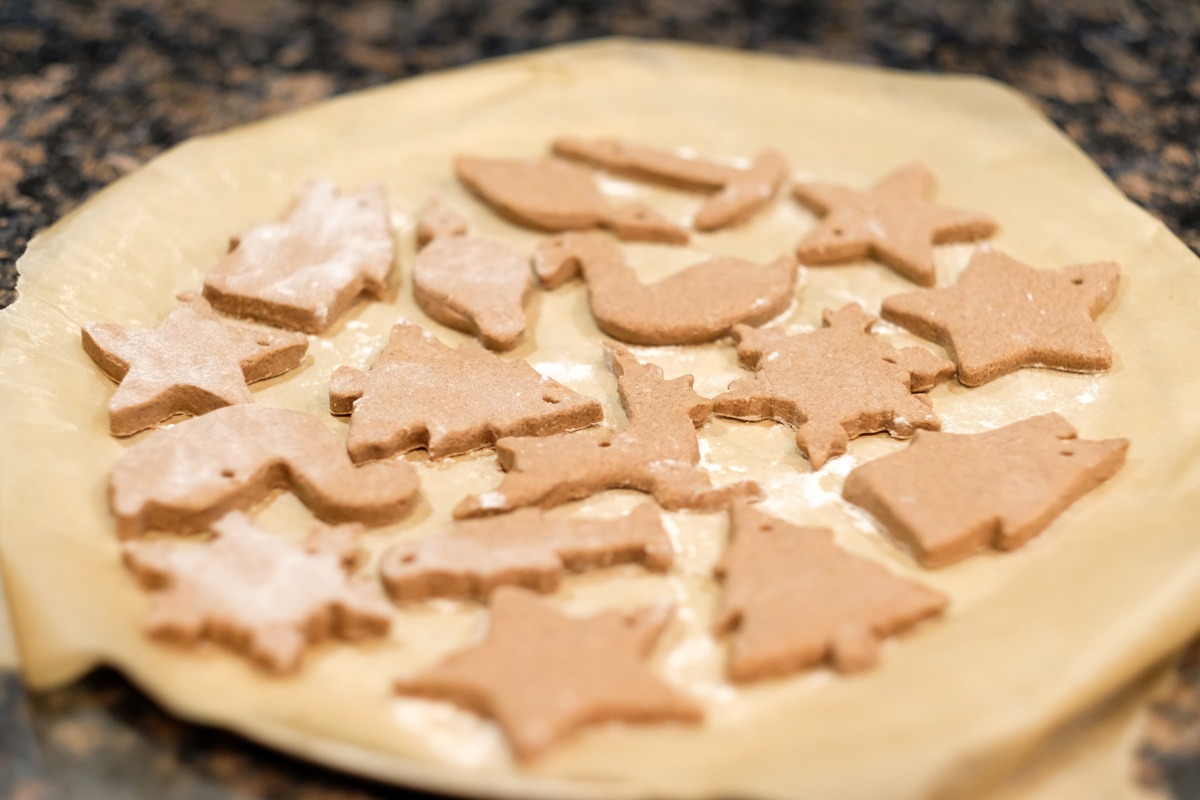
Lay ornaments on flour-dusted or parchment paper-lined cookie sheet.
Bake vs. Air Dry: This is totally up to you, but I prefer air-drying, as there’s more room for error with baking and I found we still had to wait another 24 hours for the clay ornaments to continue drying even after a turn in the oven. If air drying, wait 24 – 48 hours before painting or using a finishing coat. If baking, use a temperature of 175 – 200 degrees and bake for 2 hours. One recipe we tried stated “bake at 300 degrees for 2 – 3 hours” but that heat is way too hot. After less than an hour, our salt dough handprints “burned.” Check ornaments frequently and turn down the heat if necessary. Also, many recipes recommend flipping about halfway through. After a few of our clay shapes broke during flipping, I left the remaining ones where they lay and they were fine. I also found that flipping caused the clay ornaments to wrinkle a little bit more than their non-flipped counterparts. Not a big deal if painting, but the non-flipped ornaments are a little more aesthetically pleasing to me as one side is really smooth.
Step 4: Decorate

Make sure the salt dough / clay ornaments are fully hardened before you start painting and decorating. Even if not decorating, a coat of sealer or Mod Podge will help protect them to last longer.
What are your favorite holiday crafts? Don’t forget to check out our Pinterest boards for more holiday decorating ideas and Happy Holidays!

Share Your Comments: